I’ve written little ditties for those who are preparing for a Study-tour or a Pilgrimage-tour to the Bible Lands. You can find these pearls of wisdom here, here, here, here, and here. Most of this information holds true for this context, but must be modified for a winter hike across Galilee (Israel) on the Jesus Trail.
So let's assume you are all signed up for this quest but a little nervous about the shape of the trail, the limits of your own physical abilities, or the simple fact that you haven't been back in the woods since the Bigfoot scare of '67. Let me assuage your fear in three moves.
1. We have dedicated wheeled support.
2. I once read a book on wilderness medicine and learned how to extract a gall bladder with a spork. (You may not survive the operation, but don't you worry none, I’ll get that sucker out.)
3. You do not need to spend lots of money on gear.

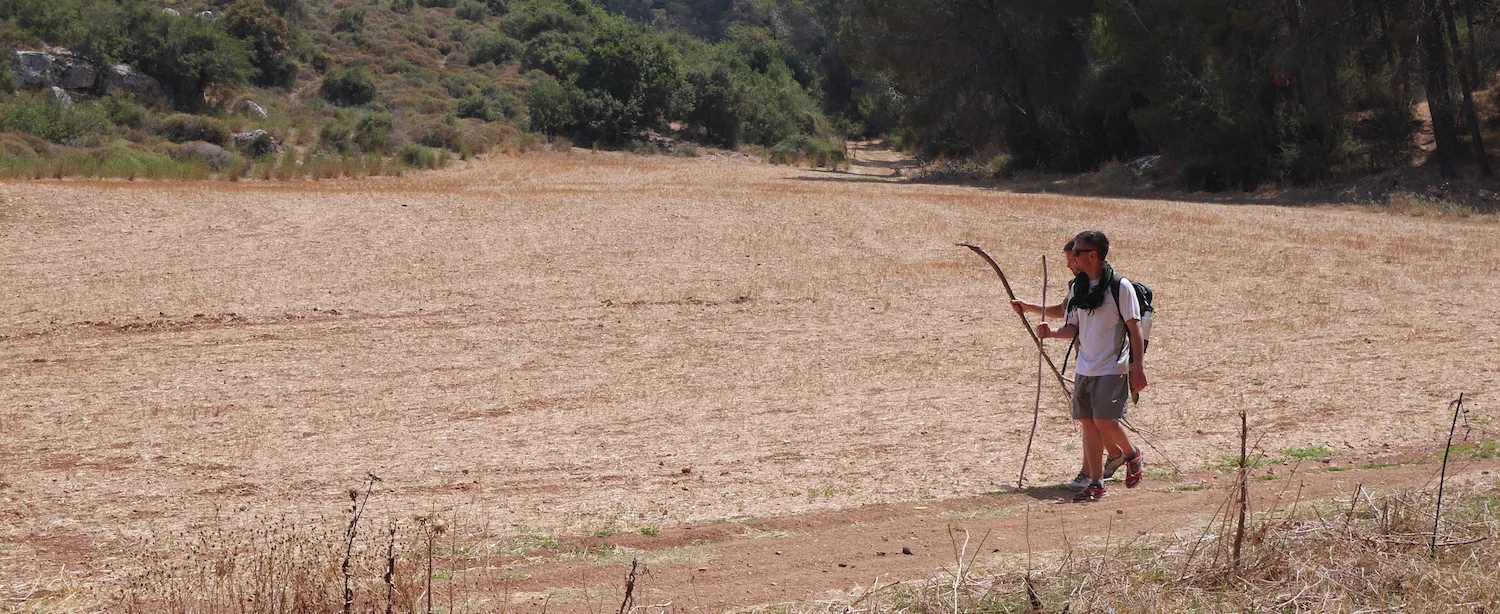
The spork is an underrated wilderness tool.
Brief commentary on the above.
1. Our trail intersects the paved roadway from time to time. With a flick of a cell phone, we can have wheels to meet us should a problem arise. However, this does not relieve you of the responsibility of getting in physical shape (think about how the rest of us are going to feel when we have to drag you to the road by your ankles). Still, our wheeled support is something you should tell your mother because she has been rightly worried about you for a while now.
2. I am not a medical doctor. I do not play one on TV. I do however, carry a first aid kit. And a spork.
3. You do not need to spend lots of money on gear. Yes, I am repeating myself.
Let’s spend the rest of this valuable space drilling down on #3.
Winter temperatures in Galilee swing from the high 30’s to the mid-60’s. Rain will be a hit-and-miss affair. It is possible that we will see a snowflake. Plan for cool and damp conditions. We will be outside. Consider the following recommendations.
Your Daypack
Each team member needs a daypack. The 20-something liter category (1500-1700 cu in) is ideal. Make sure it fits your body comfortably; pay attention to cushioning and ventilation. It will embrace your every step from Nazareth to Capernaum. You may want a daypack that incorporates a hydration-system (bladder, hose, and bite valve), but it is not necessary. Side pockets (usually of elasticized mesh) may also be loaded with plastic water bottles (just be sure they fit in there). Whichever way you go, recognize that each person must carry at least two liters of water in his/her pack. This is not optional.
Because of the threat of precipitation, your daypack needs storm flaps or water-resistant zippers. Some people have a raincover that can be slipped over their pack when needed. Another option is to put items in garbage bags and roll them snugly inside the pack. I’m more of a garbage guy myself. It’s cheaper and it does the job.
Check out some daypack reviews here. Then go to Wal-Mart.
For your flight to TLV, you can use your daypack as a carry-on or stuff it inside your one checked luggage bag (yes, you heard right. No more than one checked bag please. We need to be able to move about before and after the hike.).
So what goes in the pack (or on your body)? Keep in mind that we will spend each night in a hotel, so you will not be carrying everything that came with you on the plane. Let’s start at the top.
Traveling the trail in the middle of the summer is quite different than traveling the trail in the middle of the winter.
Your Head
A hat of some kind is needed. A boonie- or baseball-style cap will do the job. If it gets cool, a thin neck gaiter (or buff) also makes a nice accessory. Beyond practical reasons, it adds some serious panache to your wardrobe! If you don’t believe me, watch this!
For a winter hike, sunglasses (with a retainer strap) are not required, but may be appreciated. For those with prescription glasses, I recommend a retainer strap.
Your Torso
We layer for warmth and protection. Articles of clothing may be added or taken away from your trunk as the situation evolves. No cotton should be involved. Period.
Underneath everything is a lightweight or ultralightweight base layer. See this link for more.
Over the base layer goes a long-sleeved shirt. Be sure it is made of thin and quick-drying fabric so that you sound like a flapping flag when you walk. It may garner respect. Or a salute. Here's a link to this sort of thing. If you bring two, you can dry one in the hotel while you wear the other.
Over the long-sleeved shirt goes a insulating layer. This might be a fleece or a thin (wool) sweater. Look here for ideas. No cotton hoodies please.
Finally, over the fleece goes a rain/wind shell. Ideally, this should be breathable and waterproof. Look here for some real swell jackets.
Combining these four layers will keep your torso as cozy as a Russian nesting doll. Make sure these layers work in combination.
Your Hands
It might be nice to have a pair of gloves, especially if you use trekking poles. These gloves should not be the Peary-to-the-Pole type though! Something very thin and light—like a running glove—would be perfect for this application (see here for examples).
Since we're thinking about poles, it might be good to read this little article. I love my bent up ol' trekksters, but I hate flying with them. They don't fit in my luggage. Here is a review of trekking poles. If you bring them, great, but please take off the snow baskets.
A walking stick works like a trekking pole, but a good one is hard to find.
YOUR LEGS
As with your torso, a thin base layer will keep you comfortable, especially while we are resting and you are liable to cool off. Again, the thinner and lighter, the better. Over this long undy base layer goes a pair of comfortable pants. Here are my favs. Finally, while not as critical as the jacket, side-zip rain shell pants are nice. Make sure they fit over your regular pants.
Your feet
Big heavy hiking boots have a purpose, but the Jesus Trail is not one of them. Stick with a mid- to high-top shoe for ankle protection, but avoid the five pound waffle-stomper boot. Today’s market is full of more efficient options. I love my Salomons! Here's a link.
Whatever footwear you choose, be sure they are sized correctly. Walk many miles in them before getting on the plane. Try different sock combinations as well. Here is a link to great socks with a lifetime guarantee. I go wool. It is safe to say that your shoe/sock combination will be the most significant equipment decision you will make on this trip. Choose poorly, you will be miserable.
One thing I discovered while trail walking is Dirty Girls (Ahem, it is a brand name). These gals are great for hiking in sandy or rocky areas. They keep stuff from getting into your shoes. Here's the link (and yes, the link is safe).
Other essentials to pack in your kit
Two liters worth of water bottles (if you don’t have a bladder system in your daypack). In addition to these, secure a small headlamp or flashlight, an extra set of batteries, items of personal hygiene, a tiny first aid kit including Moleskin or blister fix, a small container of sunblock cream, tissue travel pack (for toilet paper), travel size waterless hand cleaner, wristwatch, and, if you are so inclined a camera and cell phone.
Things to Not pack
Remember, overnight accommodations and trail meals will be provided. Because of this you will NOT NEED sleeping gear, tent, cooking supplies, fire-starters, hammock, fishing pole, or big knives.
Capturing memories from the trail.
Pack wisely and keep it light. Remember, gear manufacturers are always pushing something new (and expensive). Substitute where you can. Shop sales and do not overlook the used market. Try your local Goodwill or online sellers like ebay or Geartrade. Test everything. A good hiking kit does not need to be extensive, but it needs to fit well and work well.